|
||||||||||||||
|
Step
00 |
|
|
||||||||
|
Step
01 |
|
|
||||||||
|
Step
02 |
|
|
||||||||
|
Step
03 |
|
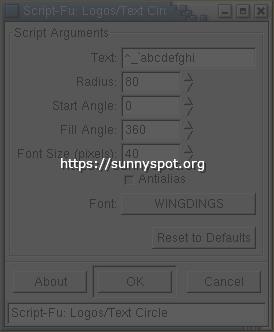
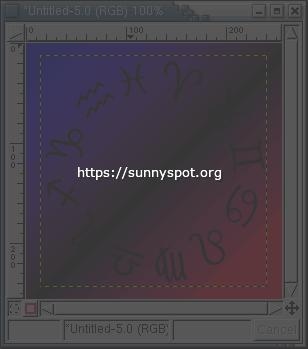
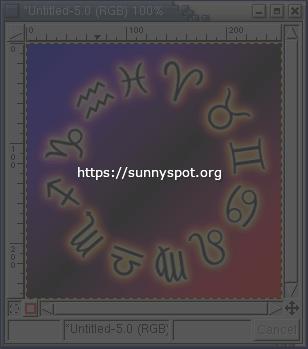
Now let's create the zodiac circle: from the toolbox "Xtns/Script-Fu/Logos" choose "Text Circle". In the text field put the characters "^_`abcdefghi" and be sure tu use the Wingdings font with a size of 40 pixels. | ||||||||
|
Step
04 |
|
Hide the text layer (click over the proper "eye" icon in the layer dialog). |
||||||||
|
Step
05 |
|
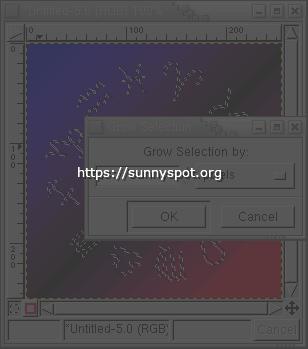
From the layer dialog choose "alpha to selection" on the text layer then grow the selection of 1 pixel (image window, right-click menu, "Select/Grow"). | ||||||||
|
Step
06 |
|
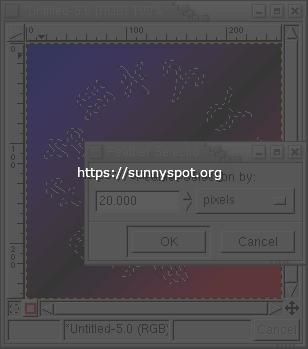
Now use a "Select/Feather" of 20 pixels. | ||||||||
|
Step
07 |
|
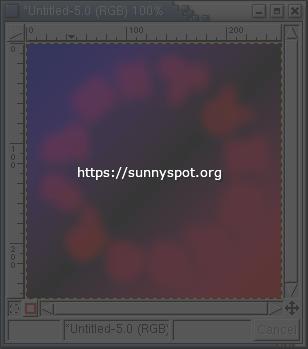
Fill the selection with pure red (RGB: 255,0,0). Set the layer mode to "Screen". |
||||||||
|
Step
08 |
|
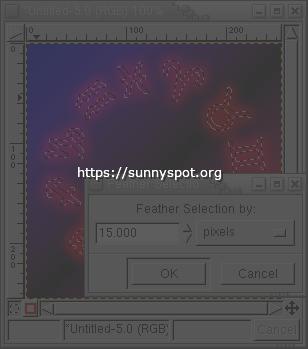
Once again from the text layer use "alpha to selection", grow the new selection of 1 pixel then feather it of 15 pixels. | ||||||||
|
Step
09 |
|
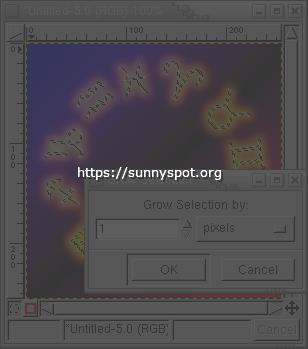
Fill the selection with yellow (RGB: 255,255,0). Set the layer mode to "Screen". For the last time, from the text layer use "alpha to selection", grow the new selection of 1 pixel. |
||||||||
|
Step
10 |
|
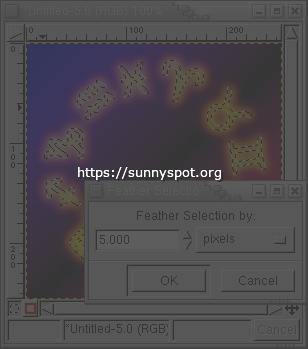
Feather it of 5 pixels. | ||||||||
|
Step
11 |
|
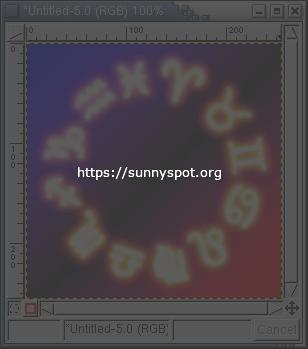
Fill the selection with white (RGB: 255,255,255). Set the layer mode to "Screen". |
||||||||
|
Step
12 |
|
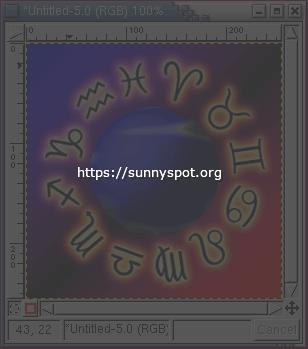
This is the result if you show again the text layer.
The glow effect is complete, we can add something else. A planet
with some stars could be more interesting than a three colors shading.
Let's do it! |
||||||||
|
Step
13 |
|
Create a new layer and hide all the others (shift-click over the "eye" icon in
the layer dialog).
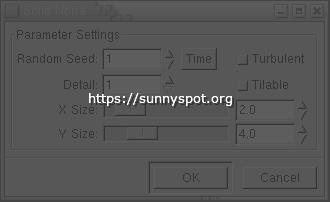
Use the "Solid Noise" ("Filters/Render/Clouds") with an X size of 2.0 for the main texture. |
||||||||
|
Step
14 |
|
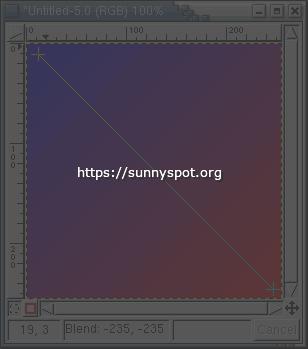
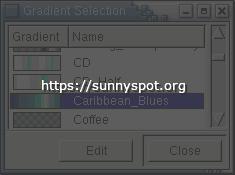
Select the "Carribean_Blues" gradient (or a similar one). | ||||||||
|
Step
15 |

|
|
||||||||
|
Step
16 |
|
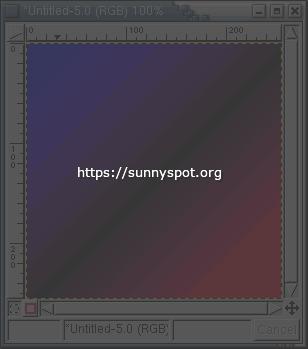
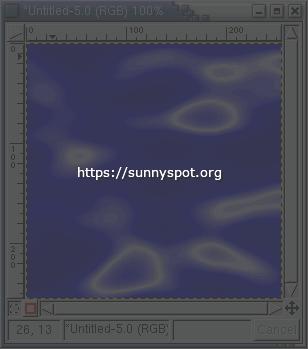
Use "Merge Visible Layers" (ctrl-M) from the layers dialog in order to fuse the two layers and creating a planet-like surface. |
||||||||
|
Step
17 |
|
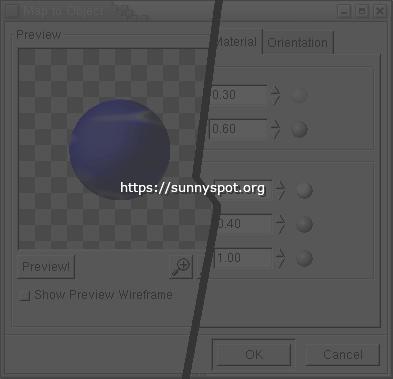
With the "Map Object" plugin ("Filters/Map") apply the texture over a spherical surface. You can change the material or light properties. | ||||||||
|
Step
18 |
|
|
||||||||
|
Step
19 |
|
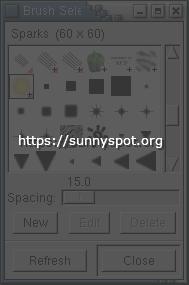
Choose the "Sparks" animated brush. | ||||||||
|
Step
20 |

|
|
| TSS |
|
Layout & Graphics are © Marco (LM) Lamberto
- lm(@)sunnyspot(.)org
Made with GIMP & WPP, The Web PreProcessor http://the.sunnyspot.org/slm/tutorials/03.html - Revised: 2021/01/02 16:48:52 |
|